Backups
It is important to set a backup schedule for each of your domains sites so that you will not lose work and information if a process or upgrade fails. In addition, a schedule will guarantee that you will not exceed your site quota. You can set your backup schedule during installation, or after the site is established as described below.
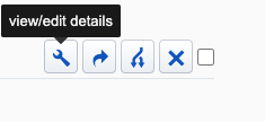
To access the settings for your domain, go to My Apps from the Cpanel interface, and this will take you to the Installatron page with a listing of all your installed applications (this could be just one or many). To the right of each application, you will see 4 icons as shown in the figure below.
- wrench = view/edit details
- right-facing arrow = create a backup archive
- branched arrow = clone the site
- X = uninstall the site, which will delete all files and directories and databases and tables associated with the installed software and cannot be reversed.
Click on the wrench to view/edit details, and then scroll to the bottom of the page. Within the Automatic Backup section, choose the frequency that would work best for your site. For example, if you edit your site daily, you would want to make sure you include a daily backup. Alternatively, if you work in your site infrequently a monthly backup schedule would work fine. After you have selected your backup schedule, click ‘Save All’ in the bottom right.

To view your backups and optionally remove older backups to save space, click on the My Backups tab at the top of the Installatron page. Here you can delete backups, download them for off-site safety or restore them.
Security
If you want people to be able to visit your website, it’s important to set up HTTPS. Using HTTPS instead of HTTP provides a layer of security, and most web browsers will display warnings to visitors if your site uses HTTP.
Domains uses Lets Encrypt SSL as a free way to set up HTTPS, and it manages most of the work for you by default. All you have to do is visit the Domains link under the Domains area of the dashboard.
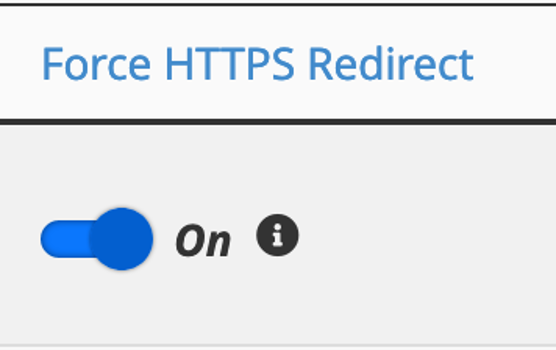
Set the slider for Force HTTPS Redirect to “On.”

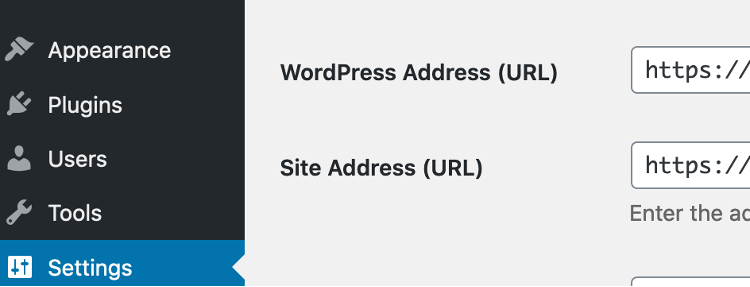
Some applications you install on Domains, such as WordPress, require an option to be set internally, as well. For a WordPress installation, go to the WordPress Dashboard and look under Settings -> General.
Check the fields WordPress Address (URL) and Site Address (URL). If either or both begin with http://, change it to https://.


